
Plan First, Vector Fast: A Production Method for Illustrators

One of the biggest time sinks in illustration isn’t the drawing itself, it’s re-drawing. If your sketch isn’t planned and structured well, you’ll spend hours fixing problems in the final artwork that could have been solved much earlier.
That’s where planning and vectorizing a tight sketch comes in. By investing time upfront to refine your composition, separate elements, and think about how the file will be built, you set yourself up for speed and flexibility later. Once the sketch is approved, moving into vector is almost a trace-and-polish exercise rather than a re-invention.
In this mini tutorial, I’ll walk you through how we approach tight sketch planning, how to set up your production steps for efficient vectorization, and why this method saves both artists and clients from headaches down the line.
Example project
In this project, our client required a vectorized stylized illustration of a doctor talking with a patient. This image was going to be used as part of a larger series of illustrations within a slide deck.
Personal approach to work
For me, sketching and ideating in Photoshop always feels more natural than jumping straight into Illustrator. It gives me freedom to explore shapes, layouts, and characters quickly without worrying about perfect lines. Once I’m happy with the design direction, I’ll also block in colour to see how things play together.
When the client signs off on those sketches, that’s when I move into Illustrator to vectorize them. I’ll be honest, this stage can sometimes feel like a slog. That’s why I’ve developed a few quick tips and habits that make the vectorizing process faster, smoother, and (dare I say) more enjoyable. And that’s exactly what I want to share with you today.
Take references to help you sketch
In our studio, we always lean on reference images when drawing figures. A quick snapshot of ourselves holding a pose can save a huge amount of time later. It helps us explore different options for gestures, check proportions, and reduce the guesswork that comes with drawing from imagination alone. Even rough, low-quality reference photos can be enough to guide the sketch and make the process more efficient.
Reference images really help when drawing figures
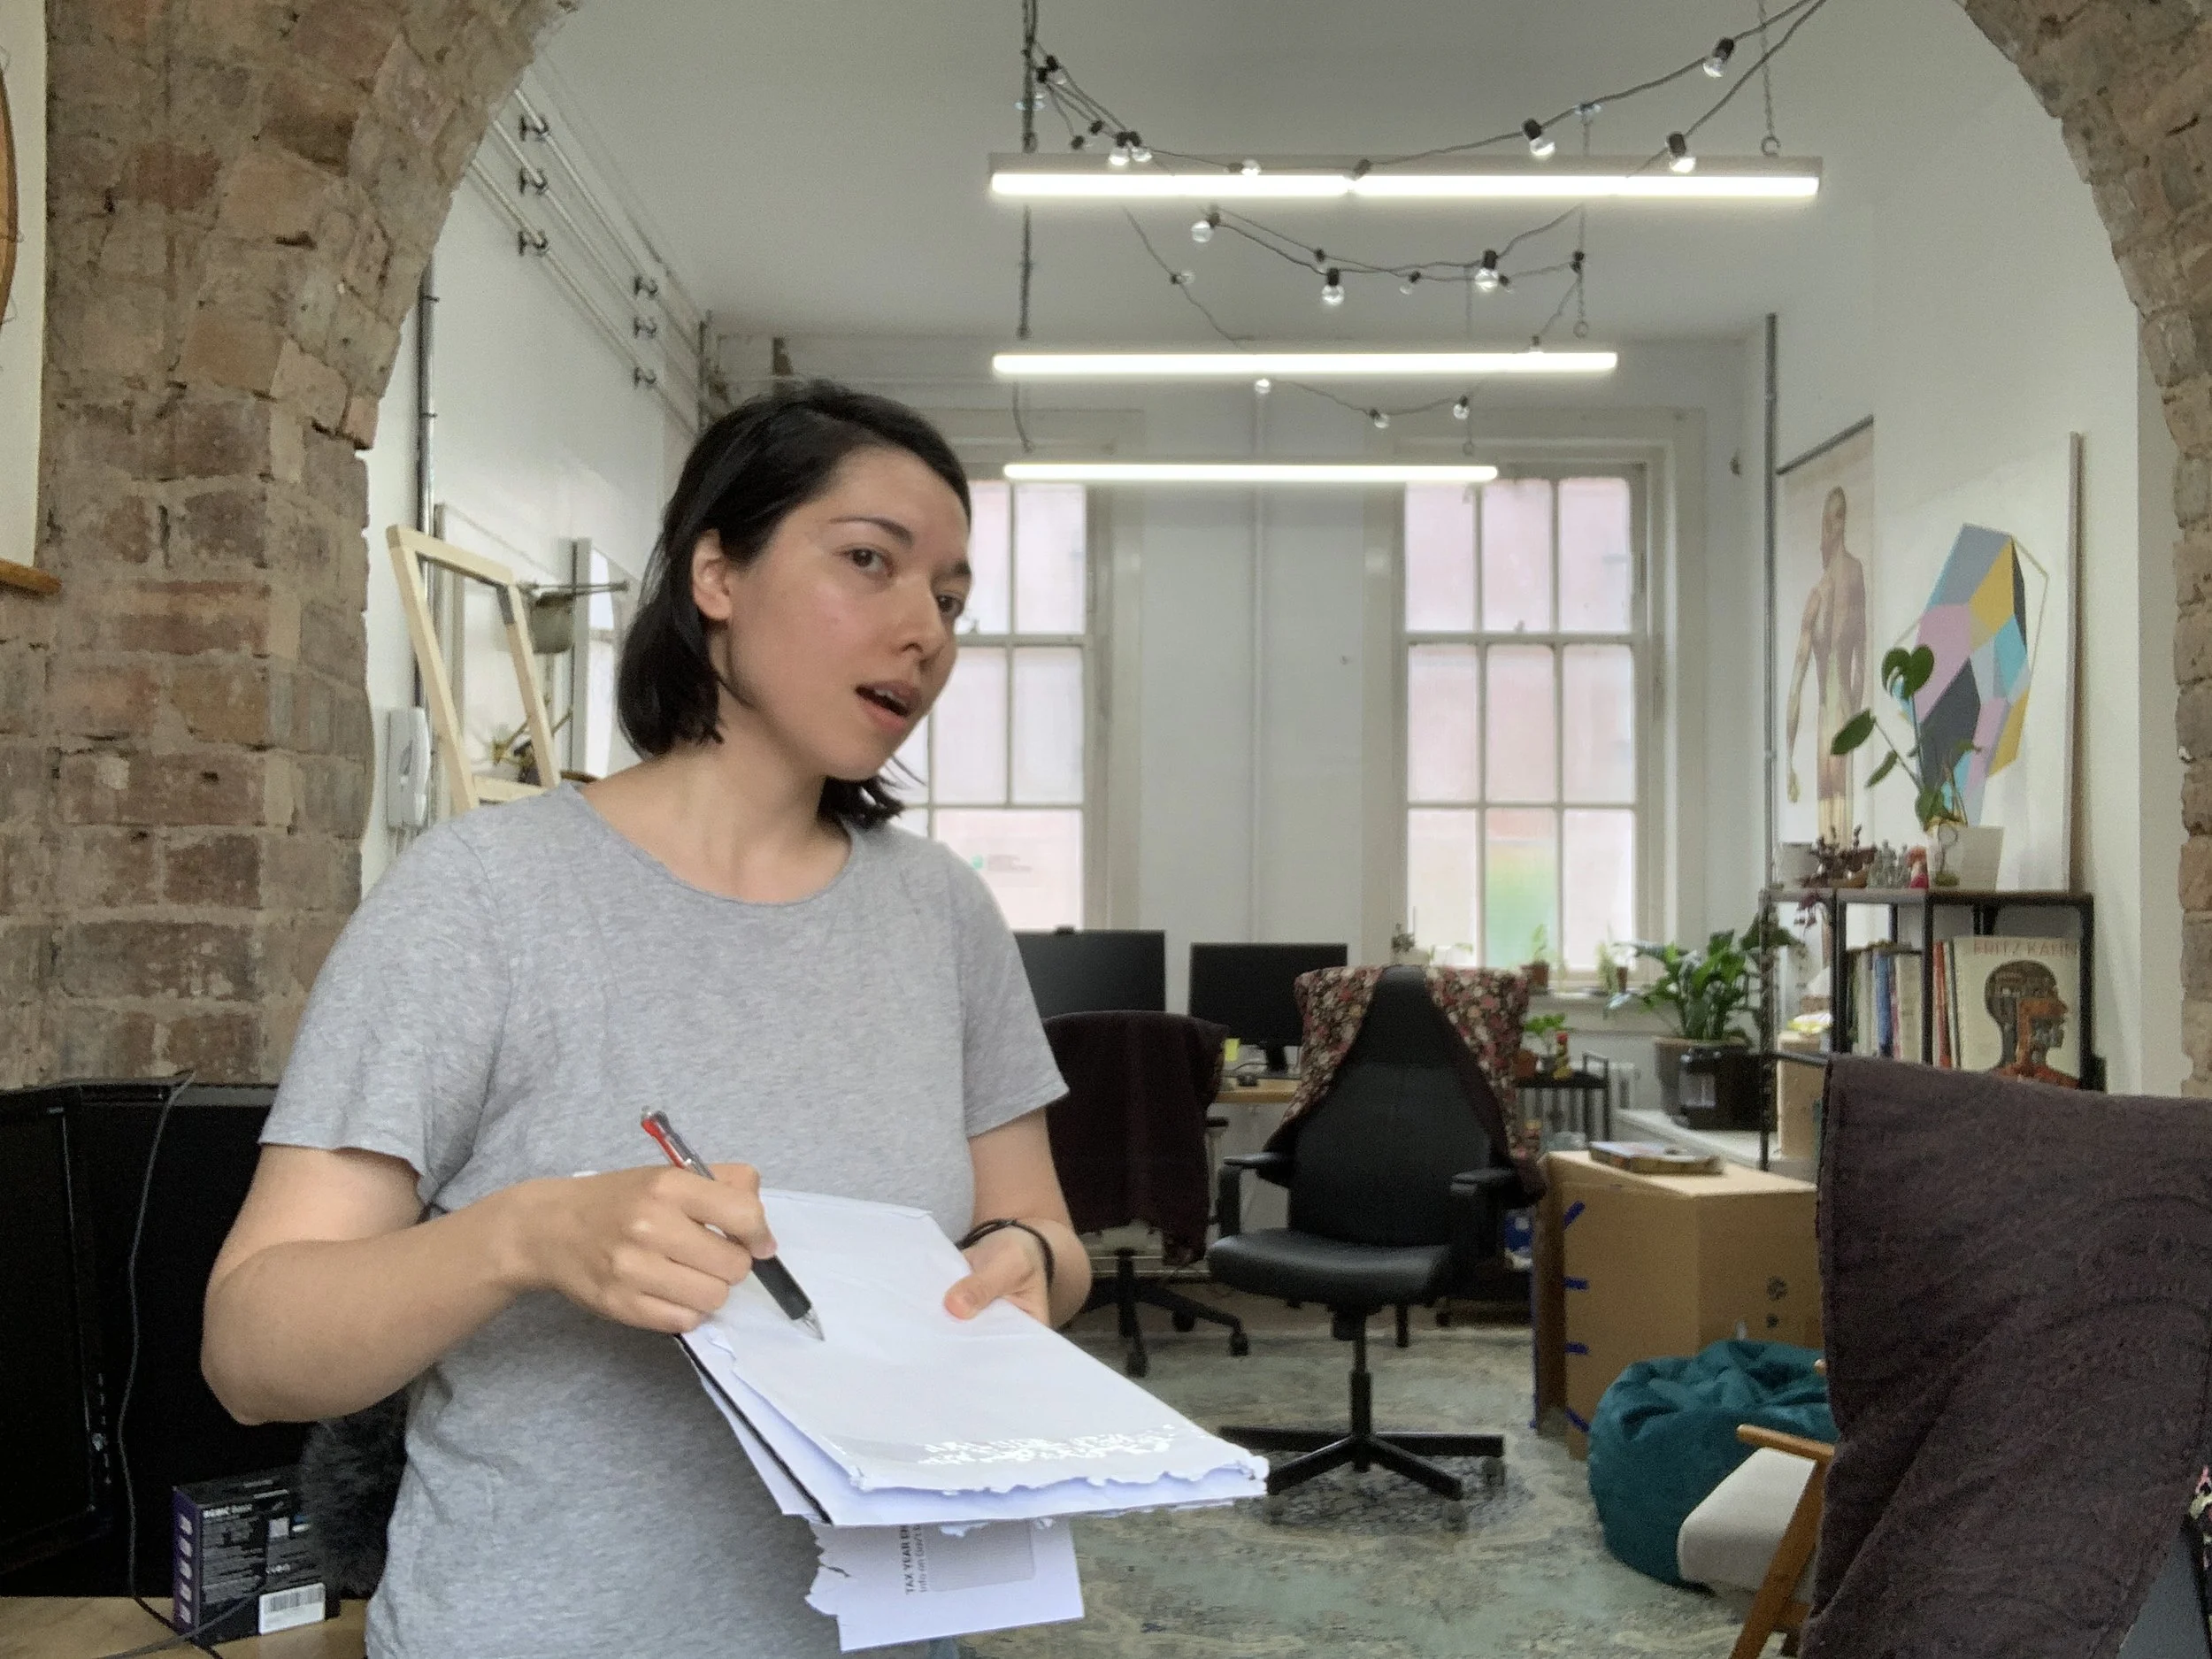

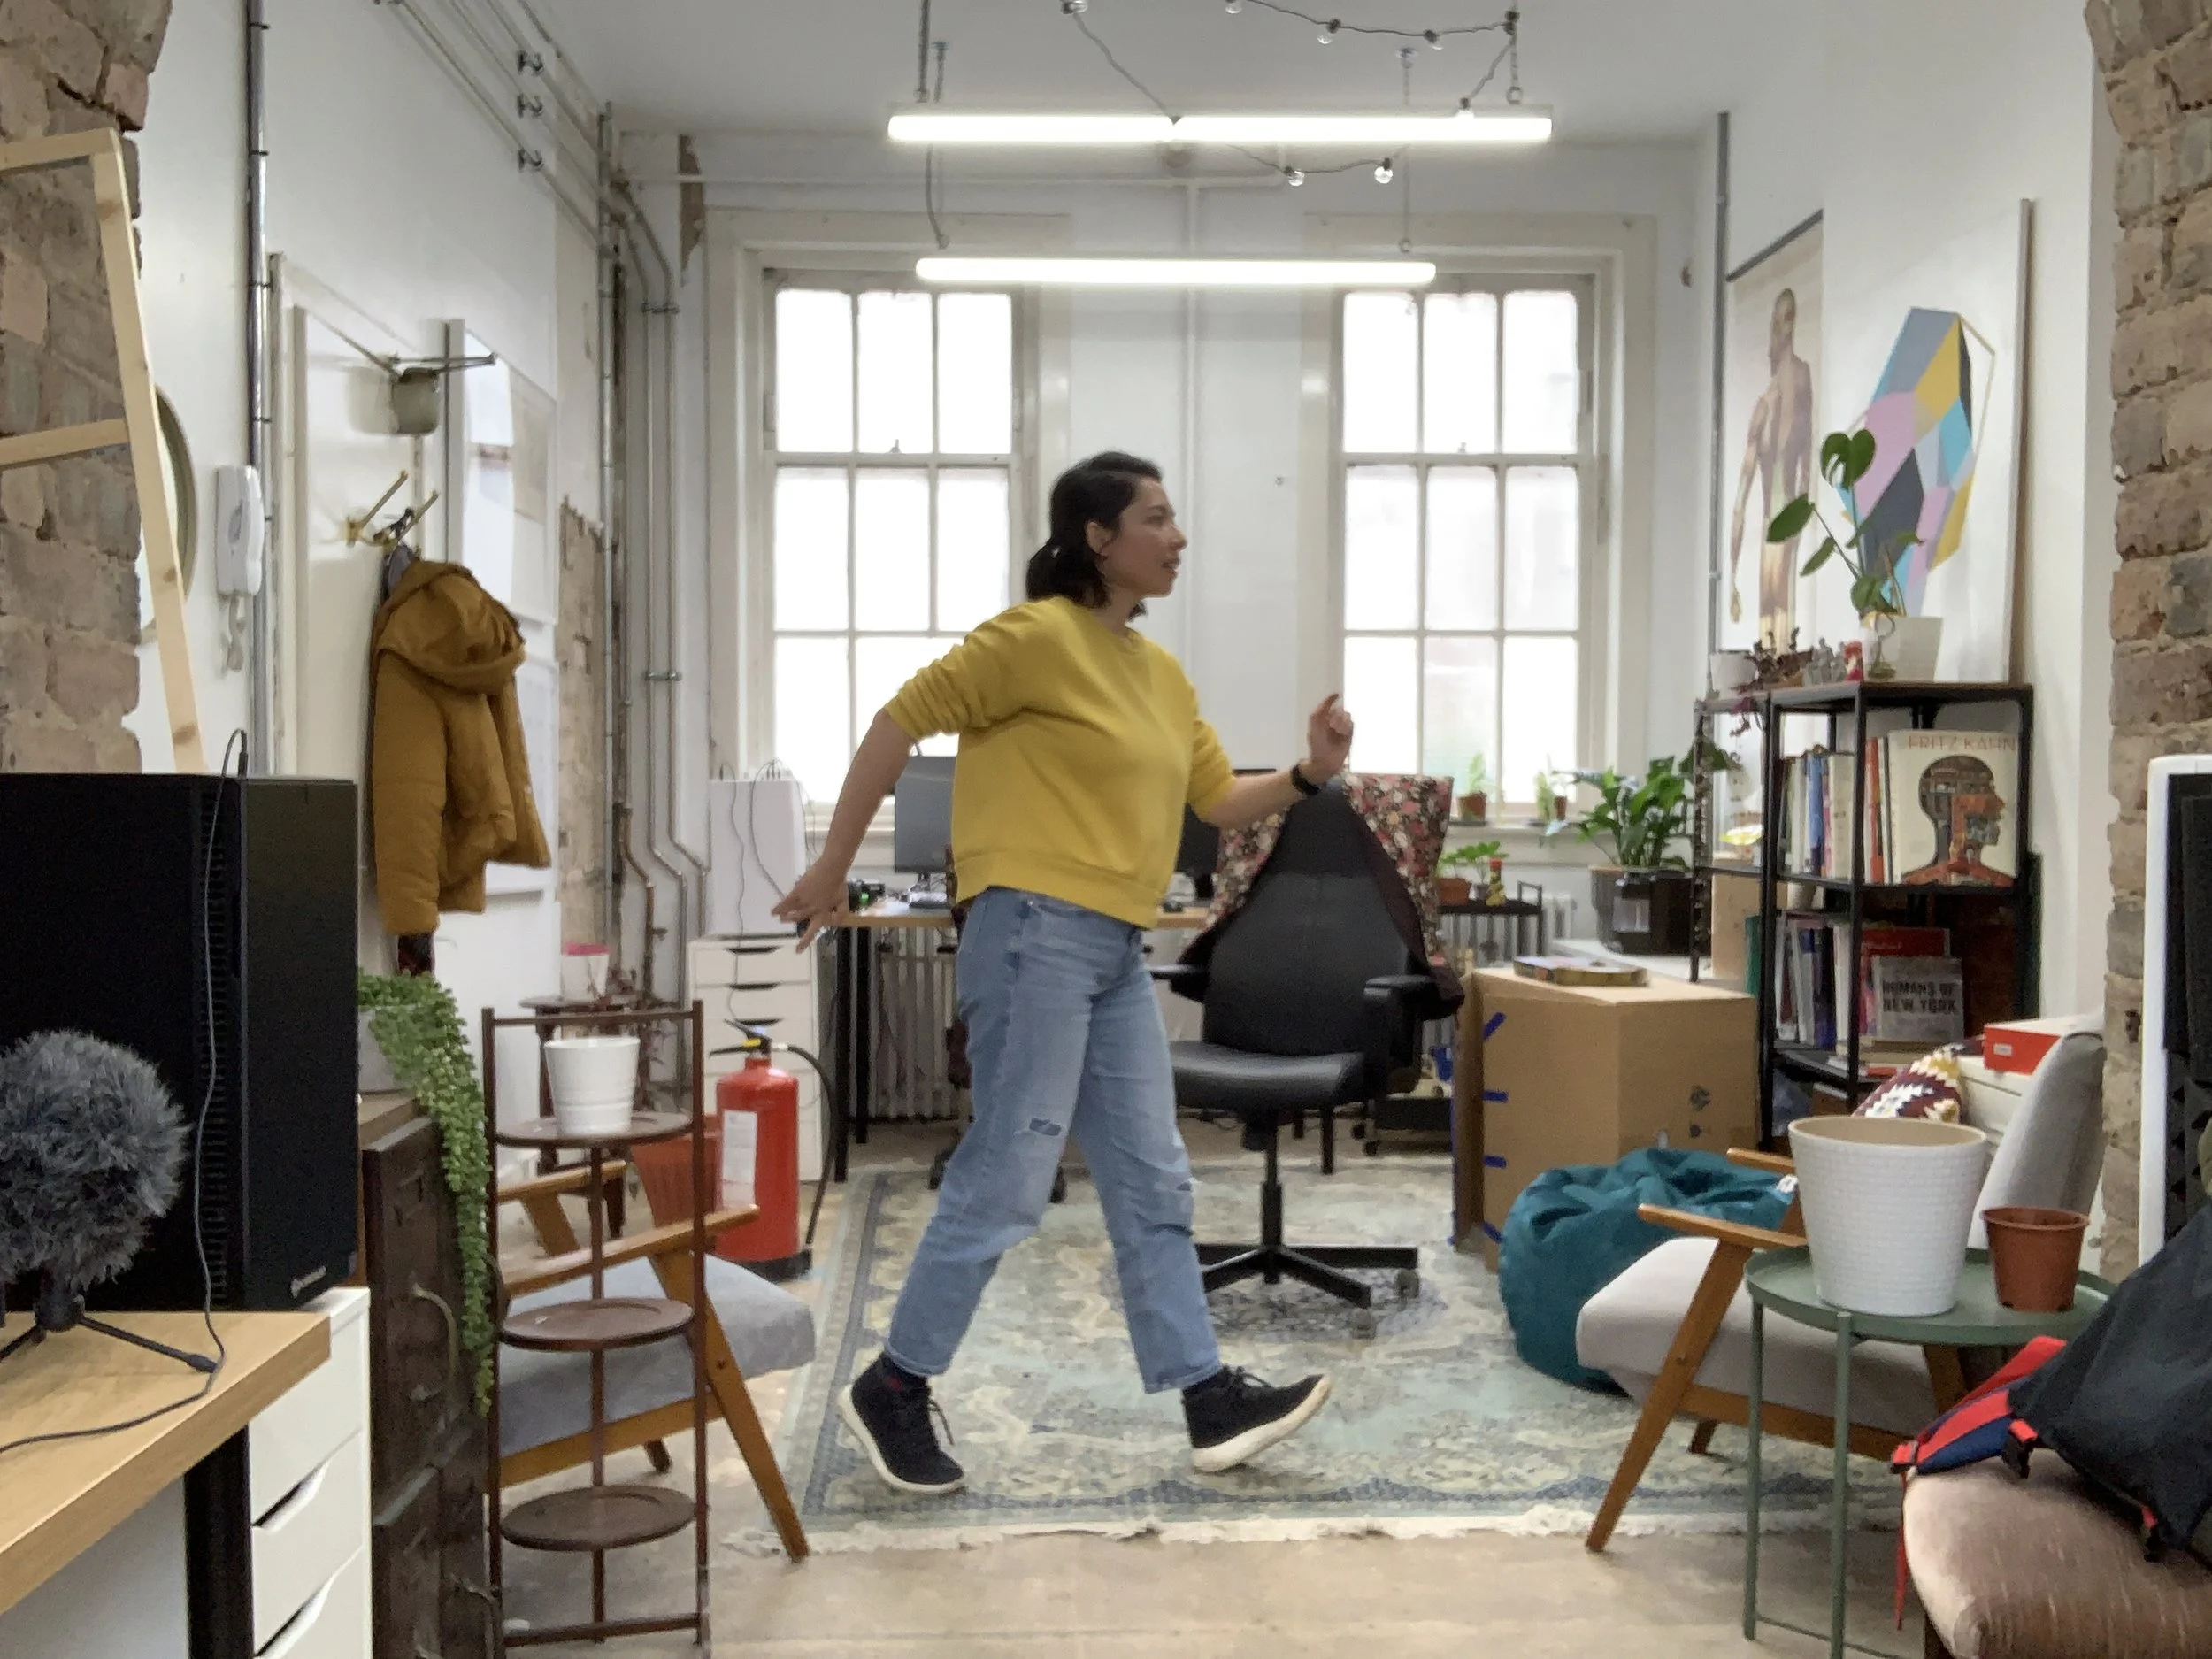

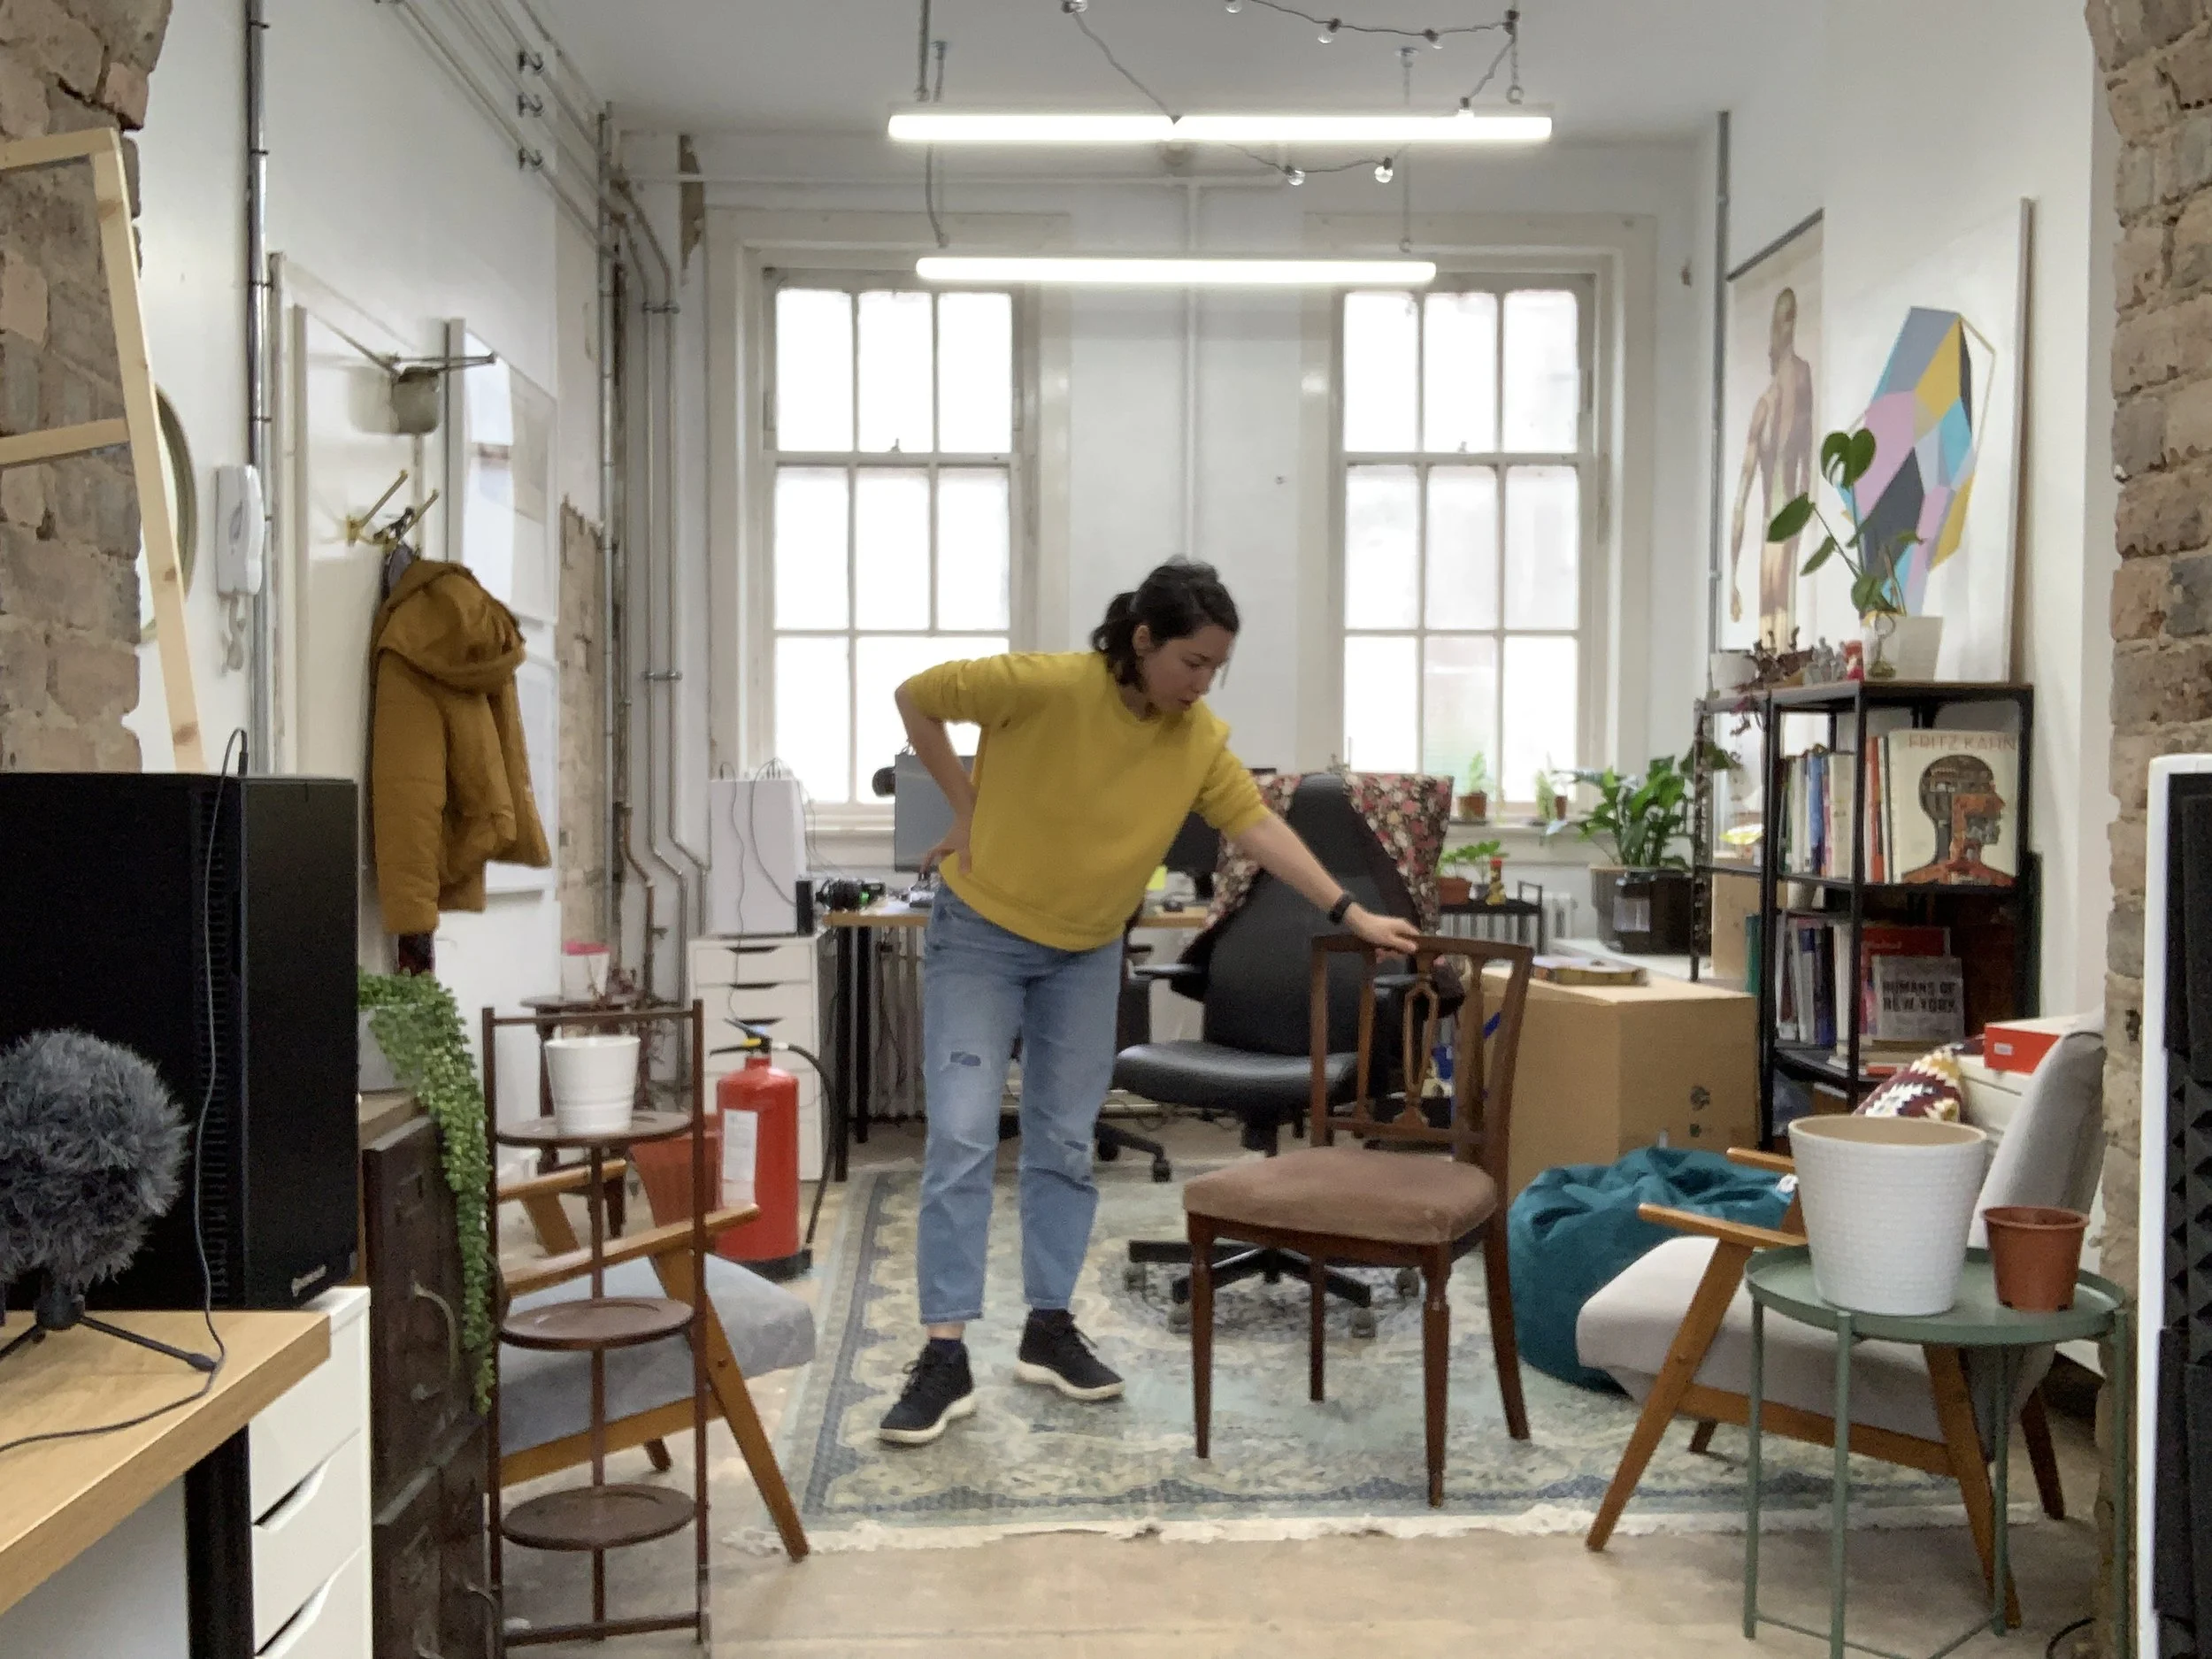
This approach allows us to get ideas down quickly while still keeping form and perspective accurate. It’s especially useful when deadlines are tight or when you’re producing a large number of illustrations in a short timeframe. Reference photos cut down on second-guessing and let you focus on design and storytelling rather than wrestling with anatomy or perspective.


⭐ The main goal for image development is to:
Ideate quickly – get ideas out fast without overthinking.
Reduce drawing fatigue – save your energy for problem-solving, not redrawing.
Seek feedback early – catch issues before investing too much time.
Plan everything – don’t leave major decisions for the vector stage.
All of these steps are designed to optimize your time in concept development. They keep your workflow efficient and your mind fresh so you can focus on solving problems for your clients rather than getting stuck in production bottlenecks.
Vectorizing process
By this stage, you’ll have a colourized tight sketch in Photoshop that’s been approved by the client. We work this way because Photoshop is much faster and more flexible for making quick edits, especially when a project goes through several rounds of feedback and revisions. Once the sketch is locked in, that’s when we move into Illustrator to vectorize, knowing that the design and colour decisions are already solid.

Step 1: Import your sketch into Illustrator (.ai)
Place your tight colour sketch into a new Illustrator file.
Embed the file (not link it) so you don’t run into missing file issues later.
Step 2: Block out your shapes
Lower the opacity of your reference sketch to make it easier to trace over.
On new layers, begin drawing out your shapes with the Pen or Shape tools.
Use the Pathfinder tool to cut, merge, or refine your shapes as you go.
Keep your layers labelled and separated (this will save you a ton of time down the line).
⚠️ Important: Don’t add colour yet, and don’t worry about line weights. At this stage you’re only focusing on clean, accurate vector shapes. Colour will come later, if you start too early, you’ll end up redoing work unnecessarily and risk drawing fatigue.
By the end of this stage, you should have a clean black-and-white vector version of your sketch that looks something like this (see image below).


Step 3: Add colour
Now that all of your shapes are cleanly blocked out, it’s time to bring them to life with colour.
Use your tight colour sketch as a reference.
Apply flat fills to your shapes to match the approved palette.
Now you can use this time to add additioanl colour elements like gradients, or texture.
If line weights are applicable, you can use this time to adjust and edit those
✅ By the end of this step, you should have a fully colourized vector illustration that mirrors your approved sketch.

In summary
It really is a simple 3-step process, but there are a few principles that make it efficient and keep decision fatigue low:
Plan early. Colours and character designs are locked in during the sketch phase. This reduces back-and-forth with the client and ensures they know exactly what to expect.
Separate your focus. In Step 2, we only worry about outlining core shapes. By leaving colour out of the equation, your brain can problem-solve form, silhouette, and placement without being distracted.
Add colour last. Once shapes are complete, colouring in Step 3 becomes quick and intuitive. You’ve already done the thinking, now it’s just a matter of applying the approved look in vector form.
This workflow keeps production smooth, reduces rework, and helps your brain stay fresh for solving the bigger design problems that matter.
Have you got your own workflow like this? I’d love to hear how you tackle sketch-to-vector, drop a comment and share your tips or questions!